Getting started with conda
This 20-minute guide to getting started with conda lets you try out the major features of conda. You should understand how conda works when you finish this guide.
SEE ALSO: Getting started with Anaconda Navigator, a graphical user interface that lets you use conda in a web-like interface without having to enter manual commands. Compare the Getting started guides for each to see which program you prefer.
Before you start
You should have already installed Anaconda.
Contents
- Starting conda on Windows, macOS or Linux. 2 MINUTES
- Managing conda. Verify that Anaconda is installed and check that conda is updated to the current version. 3 MINUTES
- Managing environments. Create environments and move easily between them. 5 MINUTES
- Managing Python. Create an environment that has a different version of Python. 5 MINUTES
- Managing packages. Find packages available for you to install. Install packages. 5 MINUTES
TOTAL TIME: 20 MINUTES
Starting conda
Windows
- From the Start menu, search for and open “Anaconda Prompt”.
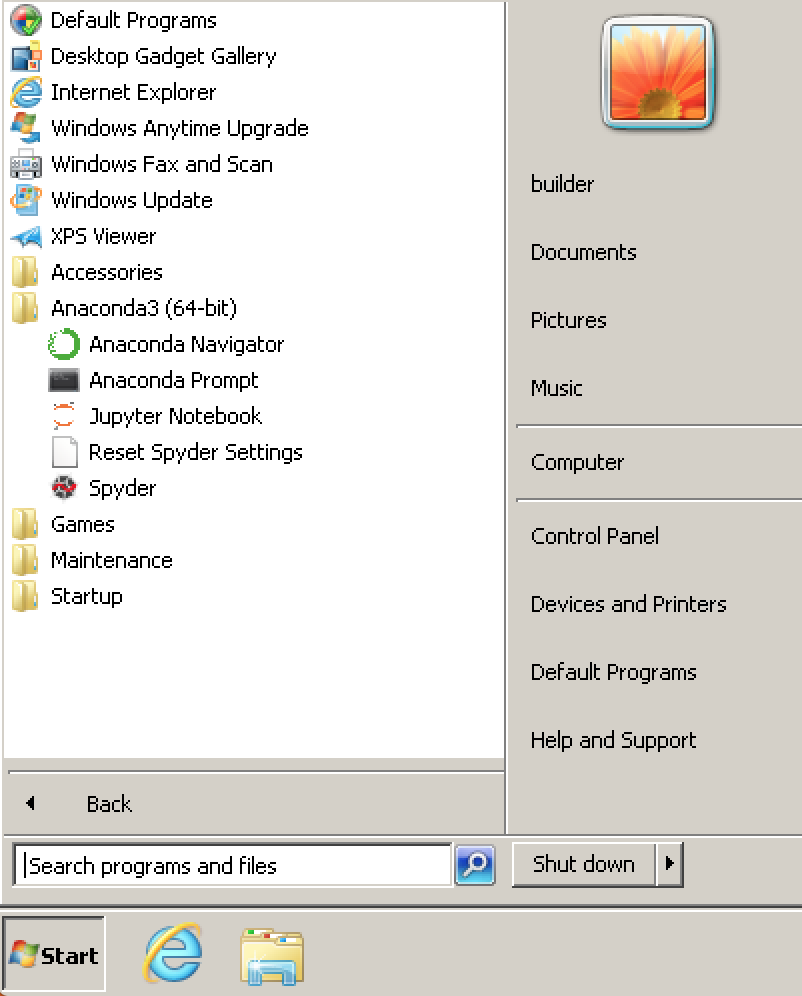
On Windows, all commands below are typed into the Anaconda Prompt window.
MacOS
- Open Launchpad, then click the Terminal icon.
On macOS, all commands below are typed into the Terminal window.
Linux
- Open a Terminal window.
On Linux, all commands below are typed into the Terminal window.
Managing conda
Verify that conda is installed and running on your system by typing:
conda --version
Conda displays the number of the version that you have installed. You do not need to navigate to the Anaconda directory.
EXAMPLE: conda 4.4.9
NOTE: If you get an error message, make sure you closed and re-opened the Terminal window after installing, or do it now. Then verify that you are logged into the same user account that you used to install Anaconda or Miniconda.
Update conda to the current version. Type the following:
conda update conda
Conda compares versions and then displays what is available to install.
If a newer version of conda is available, type y to update:
Proceed ([y]/n)? y
TIP: We recommend that you always keep conda updated to the latest version.
Managing Environments
Conda allows you to to create separate environments containing files, packages and their dependencies that will not interact with other environments.
When you begin using conda, you already have a default environment named
base. You don’t want to put programs into your base environment, though.
Create separate environments to keep your programs isolated from each other.
Create a new environment and install a package in it.
We will name the environment
snowflakesand install the package BioPython. At the Anaconda Prompt or in your Terminal window, type the following:conda create --name snowflakes biopython
Conda checks to see what additional packages (“dependencies”) Biopython will need, and asks if you want to proceed:
Proceed ([y]/n)? y
Type “y” and press Enter to proceed.
To use, or “activate” the new environment, type the following:
- Windows:
activate snowflakes - Linux and macOS:
source activate snowflakes
Now that you are in your
snowflakesenvironment, any conda commands you type will go to that environment until you deactivate it.- Windows:
To see a list of all your environments, type:
conda info --envs
A list of environments appears, similar to the following:
conda environments:

    base           /home/username/Anaconda3
    snowflakes   * /home/username/Anaconda3/envs/snowflakes
TIP: The active environment is the one with an asterisk (*).
Change your current environment back to the default (base):
- Windows:
deactivate - Linux, macOS:
source deactivate
TIP: When the environment is deactivated, its name is no longer shown in your prompt, and the asterisk (*) returns to base. To verify, you can repeat the
conda info --envscommand.- Windows:
Managing Python
When you create a new environment, conda installs the same Python version you used when you downloaded and installed Anaconda. If you want to use a different version of Python, for example Python 3.5, simply create a new environment and specify the version of Python that you want.
Create a new environment named “snakes” that contains Python 3.5:
conda create --name snakes python=3.5
When conda asks if you want to proceed, type “y” and press Enter.
Activate the new environment:
- Windows:
activate snakes - Linux, macOS:
source activate snakes
- Windows:
Verify that the snakes environment has been added and is active:
conda info --envs
Conda displays the list of all environments with an asterisk (*) after the name of the active environment:
# conda environments:
#
base                     /home/username/anaconda3
snakes                *  /home/username/anaconda3/envs/snakes
snowflakes               /home/username/anaconda3/envs/snowflakes
The active environment is also displayed in front of your prompt in (parentheses) or [brackets] like this:
(snakes) $
Verify which version of Python is in your current environment:
python --version
Deactivate the snakes environment and return to base environment:
- Windows:
deactivate - Linux, macOS:
source deactivate
- Windows:
Managing packages
In this section, you check which packages you have installed, check which are available and look for a specific package and install it.
To find a package you have already installed, first activate the environment you want to search. Look above for the commands to activate your snakes environment.
Check to see if a package you have not installed named “beautifulsoup4” is available from the Anaconda repository (must be connected to the Internet):
conda search beautifulsoup4
Conda displays a list of all packages with that name on the Anaconda repository, so we know it is available.
Install this package into the current environment:
conda install beautifulsoup4
Check to see if the newly installed program is in this environment:
conda list
More information
- Conda cheat sheet.
- Full documentation— https://conda.io/docs/ .
- Free community support— https://groups.google.com/a/anaconda.com/forum/#!forum/anaconda .
- Paid support options— https://www.anaconda.com/support/ .